|
|
Post by TexasEd on May 13, 2013 2:47:20 GMT -5
Did a little clean up work today. I removed some more caked on power steering fluid, stripped the air cleaner base and rebuilt the carburetor. This was my first carb rebuild and I used some youtube videos as reference.
I think my throttle linkage has an extra spring I need to get figured out. I also need to go buy another torque wrench with inch/pound measurements to tighten the power valve to spec.
|
|
|
|
Post by TexasEd on May 13, 2013 11:35:40 GMT -5
Anyone have a tank I can dip my intake manifold in? I have some carbon buildup on one side and when it was media blasted some of the walnut shells got stuck in it. I'll try carb cleaner if I can't find a place to dip it.
I think my next adventure will be rebuilding the power steering pump.
|
|
|
|
Post by 65stang on May 14, 2013 2:21:48 GMT -5
When I've cleaned intakes in the past, I never had access to a tank or parts washer. We always just used carb cleaner and degreaser and Dawn etc. Usually that with some brushing and scraping and the hose would get them clean enough.
|
|
|
|
Post by T-Man on Jun 2, 2013 8:52:54 GMT -5
Saw Ed and his 2 beautiful daughters last night at the C.P. show. Looking forward to seeing his daughters AND his "Red Car" together at a show soon.  |
|
|
|
Post by TexasEd on Jun 2, 2013 17:13:15 GMT -5
Thanks. I'll be placing the order for parts to get my engine running this week. Anyone want to go over it with me to make sure I don't leave anything out?
|
|
|
|
Post by 65stang on Jun 2, 2013 23:19:59 GMT -5
What's your parts list?
|
|
|
|
Post by TexasEd on Jun 3, 2013 9:09:55 GMT -5
|
|
|
|
Post by TexasEd on Jun 11, 2013 15:03:43 GMT -5
Placed the order today for parts. I don't know why it made me so nervous. Maybe because we have a baby coming so soon (on or before July 29th).
|
|
|
|
Post by TexasEd on Jun 18, 2013 14:59:53 GMT -5
most of the parts came today, just missing a bolt kit for the valve covers and manifold. The extra stuffing paper was even Christmas wrap. 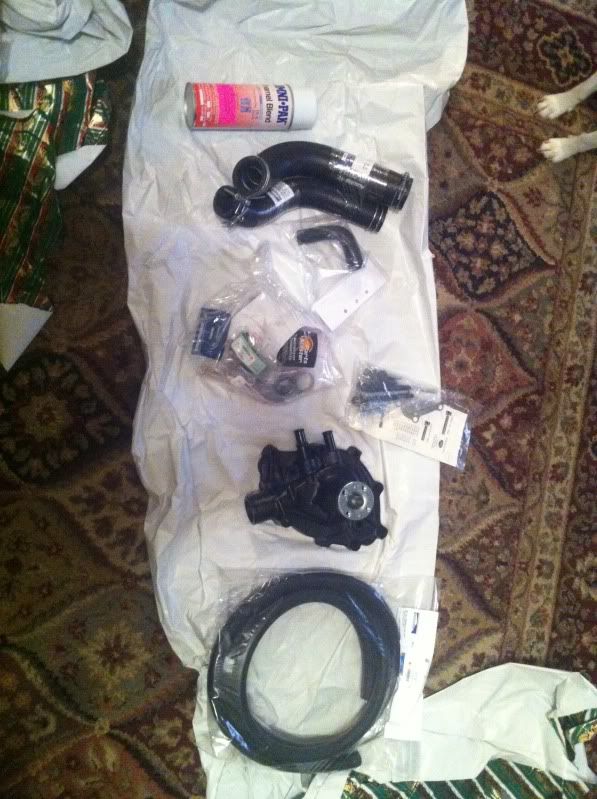 |
|
|
|
Post by gm4ever on Jun 20, 2013 9:41:19 GMT -5
Sounds like it's really coming along! Good deal!
|
|
|
|
Post by TexasEd on Feb 22, 2014 22:49:56 GMT -5
I took a while off since we had a new baby boy last July 29 but got after it the last two weekends. Here's a picture of the girls cleaning out the trunk after they removed the old, rusty gas tank. 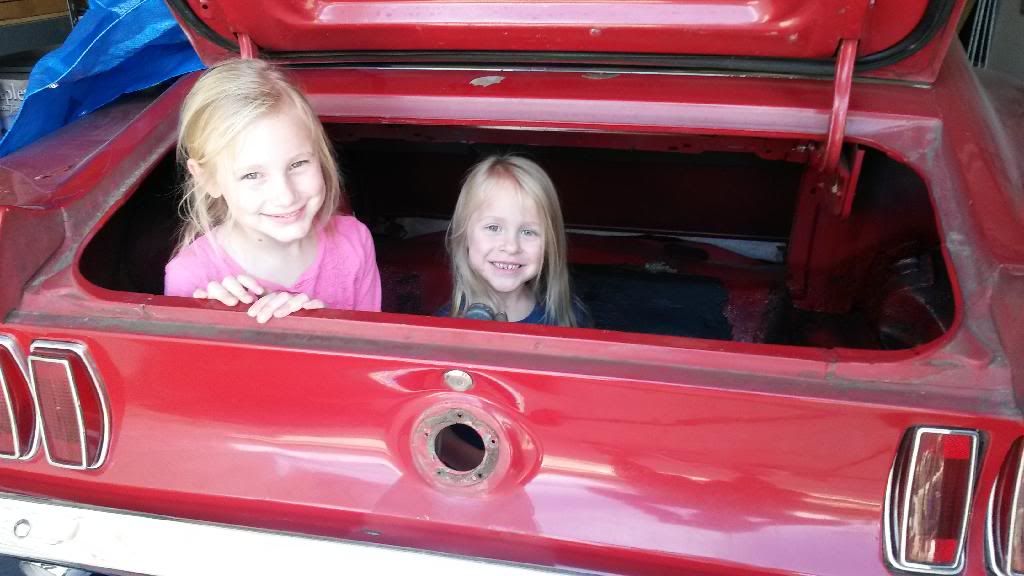 This weekend we finished up painting engine parts to put on, including the intake and water pump. I also reinstalled the battery tray and battery. I thought I had an intake manifold gasket but looks like I need to order one. I installed the new temperature sender and tested my new thermostat. The thermostat housing did not have a gasket, just RTV. Should I use a gasket or just sealer? |
|
|
|
Post by 65stang on Feb 27, 2014 0:38:36 GMT -5
Great Pic!!!
|
|
|
|
Post by TexasEd on Jun 4, 2014 12:57:43 GMT -5
YES! I'm getting the suspension parts ordered this week from www.opentrackerracingproducts.com/index.htmlGetting roller spring perches, roller idler arm, new UCA, LCA, springs, shocks, tie rods, etc. My wife is taking the kids to the beach in early July and that is my window to get it all installed. |
|
|
|
Post by v8vega on Jun 5, 2014 8:55:29 GMT -5
Thanks for posting. Looks like a great project, and it's coming along nicely. Can't wait to see the finished car. I'm sure you can't wait either.
|
|
|
|
Post by TexasEd on Jun 5, 2014 9:20:49 GMT -5
Yeah, so far I've done a lot more taking apart than putting back together.
I need to make some lists of things to get done and start checking them off.
|
|
|
|
Post by TexasEd on Jun 9, 2014 12:10:30 GMT -5
I got the shipping notice that most of my order is at the local post office. I might have to start taking more of the old parts off tonight.
Here's what's coming:
1" drop template
1/4" Poly coil spring insulators
560 1" drop coil springs
1 1/8" front sway bar kit
Roller spring perches
Standard Upper arms
Standard Lower arms
Strut rod bushings
Steering kit with roller idler arm for P/S
KYB Front shocks
Grab-A-Track rear shocks
Black export brace
Black Monte Carlo bar .. curved
Camber kit
4.5 Mid eye 1" drop leaf springs with new U-Bolt, front eye bolt and rear shackle kit
|
|
|
|
Post by TexasEd on Jun 9, 2014 21:57:52 GMT -5
Upper and lower control arms, steering components, camber kit and spring perches got here today. 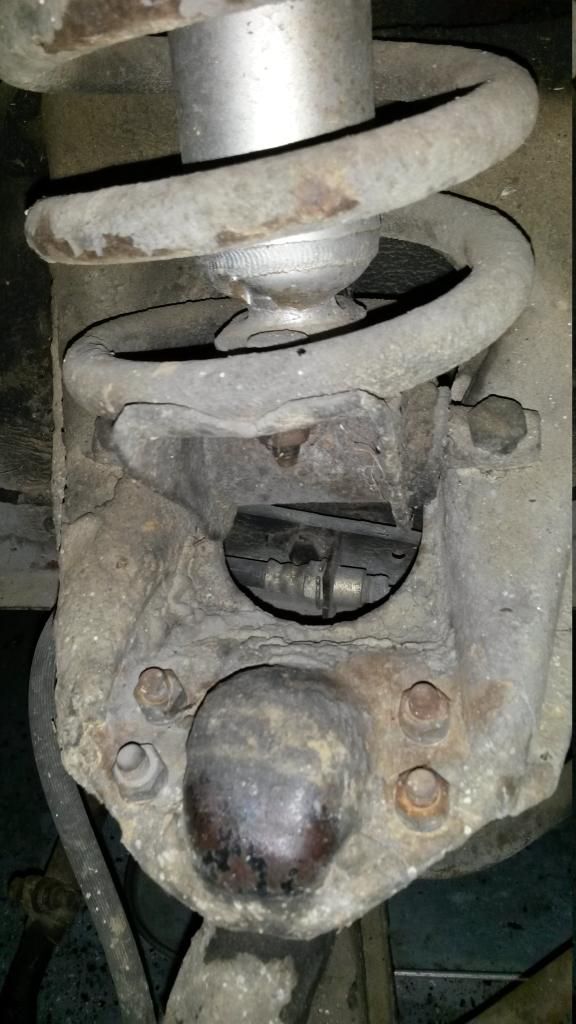 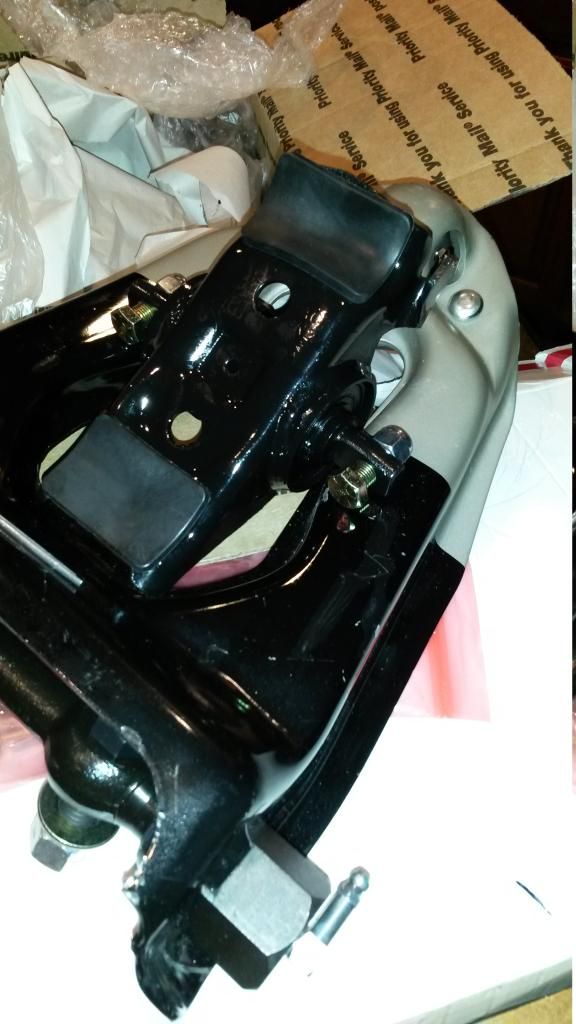 |
|
|
|
Post by TexasEd on Jun 23, 2014 17:30:02 GMT -5
I've got shocks, coil springs, anti-sway bar and monte carlo bar. Export Brace and rear leaf springs should be here this week.
Going to start un-bolting old parts tonight. Next week I'll be going after it every evening after work.
|
|
|
|
Post by TexasEd on Jul 3, 2014 9:52:09 GMT -5
I started my suspension upgrade last night and was reminded what a joy it is to separate some of these joints. I used a tool like this tie rod puller ( www.harborfreight.com/tie-rod...ller-1752.html ) to get the tie rod joint off and I unbolted the upper ball joint from the control arm to help remove it but I can't get the lower ball joint off. I need to save my spindles because the drum brakes will stay for a short while and then be re-used for the disc brake upgrade from CSRP here in Austin. I hammered on the spindle ball joint sleeve for about an hour last night. Can I use a pickle fork without damaging the spindle? I don't care about the ball joints, the whole LCA is being replaced. |
|
|
|
Post by 65stang on Jul 3, 2014 23:10:12 GMT -5
I've used the pickle fork without ever damaging a spindle.
|
|
|
|
Post by TexasEd on Jul 5, 2014 23:07:32 GMT -5
Blurry picture of most of the new parts. I gotta keep track of how many beers to rate this job in case anyone asks. 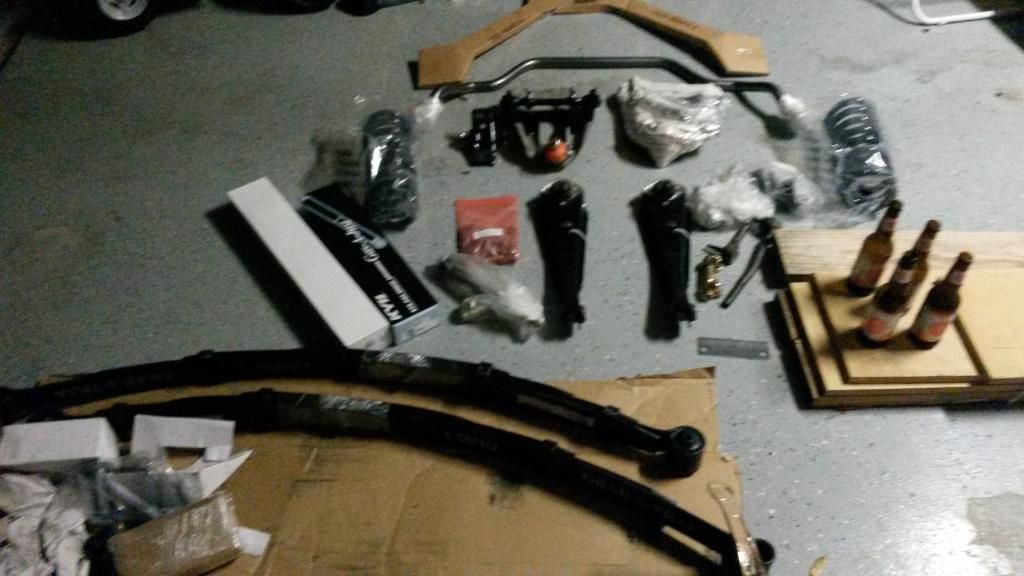 My wife went to her parents a little early for the Independence Day weekend so I got two nights after work to work on the car. The first night I got the spindle disconnected from the UCA and tie rod but could not get it off the LCA. after about an hour of hammering on the spindle I gave up and figured there had to be a better way. I ended up going to HFT to get a $19.99 ball joint tool with a 20% off coupon and it came off in less than 15 minutes. The anti sway bar bolt that connects to the LCA is bent on the threads/below the LCA and it will have to be cut off so I had to leave them connected until I get the other side off. Next step was to get the spring compressed and this made me a little nervous because of all the warnings I'd read. James B from the facebook page loaned me some compressors but I think they are for McPherson strut springs. I picked up a loaner tool for coil springs from Auto Zone. My first attempt had to be aborted because I did not have the two ends far enough apart. Second attempt worked. It was a little tricky getting it off the spring perch. I'm hoping the new spring goes in easier with it's shorter length. I figured out a trick to getting the tool off the spring. I laid it on the grass and put a bag of mulch over the spring so only the bolt head was visible. If anything slipped off the soft ground and bag of mulch should have helped and I did not have the spring trying to roll on me as I loosened the compressor. Driver side is empty. 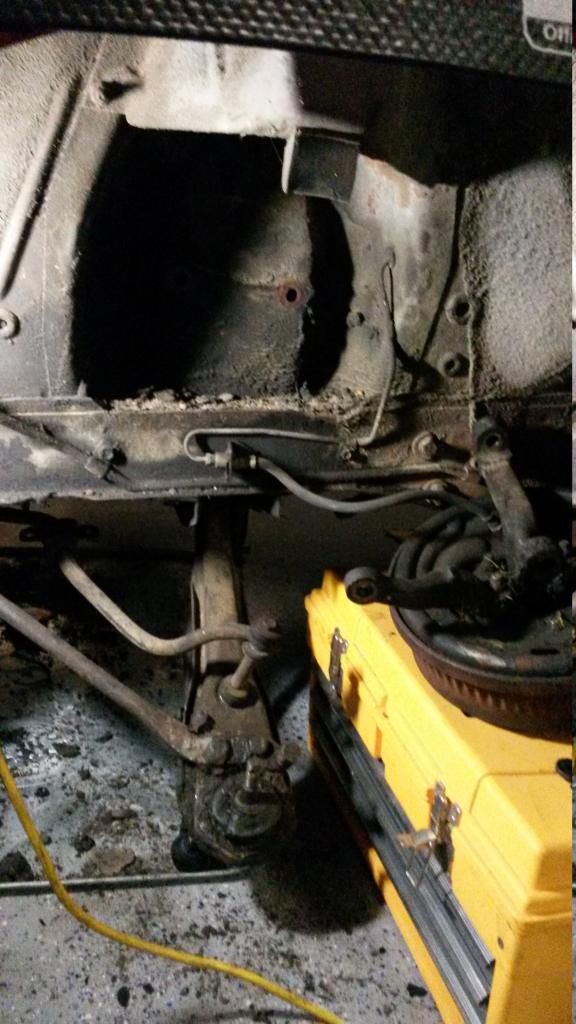 The LCA is out but stuck to the sway bar. I'll probably upgrade to CSRP discs after I get this suspension in. The guy who sells them lives about 10 miles from my house. www.discbrakeswap.com/Mustang%20Disc%20Brake%20Conversion%20Kits%20SWAP1.htmlHere is the difference between the old and new upper control arms and springs. The new springs are much tighter and shorter. The old spring bushing was completely rotted/brittle and missing in places. 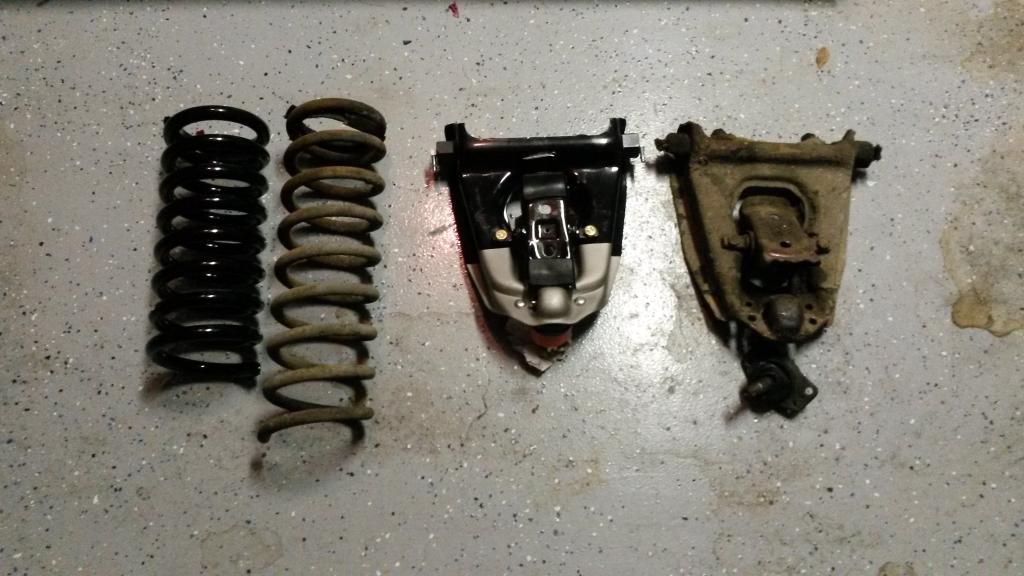 I'll be back at work on it again Sunday, Monday and Tuesday |
|
|
|
Post by TexasEd on Jul 7, 2014 23:10:32 GMT -5
Looking back at the last picture of that last post you would think that the frame rail was flush I the shock tower. It's not. There was about an inch of gunk filling up the void. 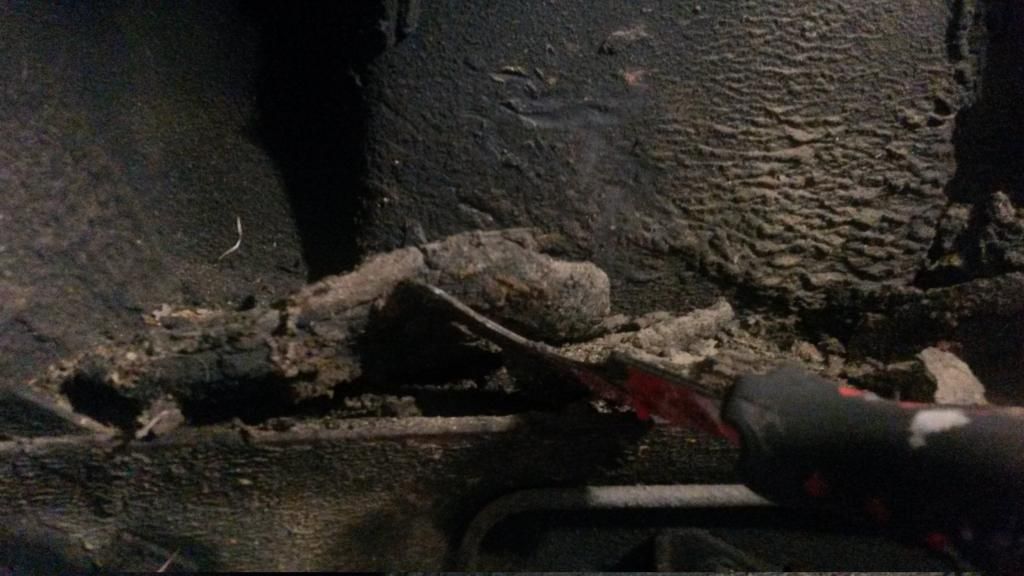 Did a lot of grinding to clean it up. 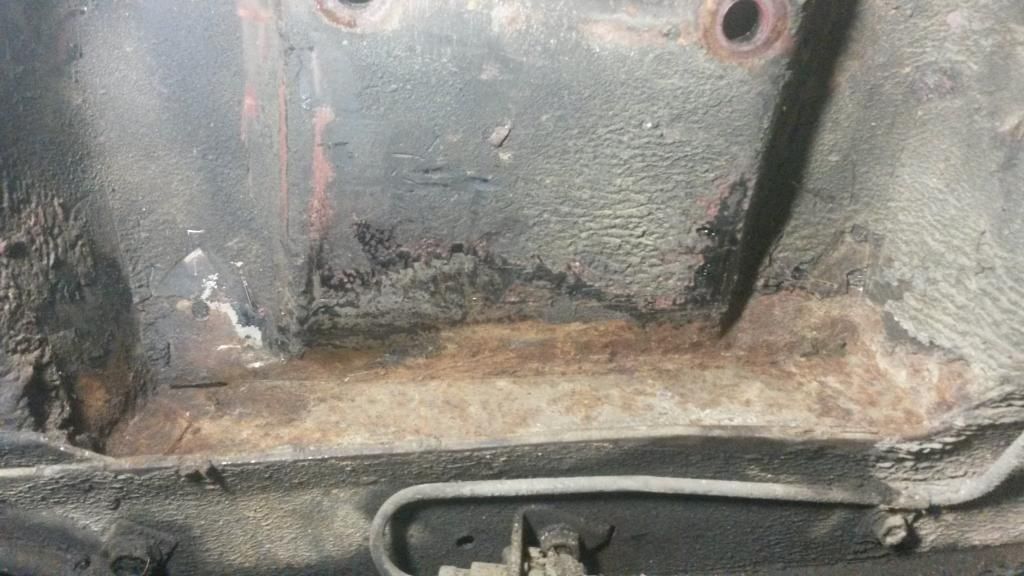 Painted and ready to do the Arning drop. 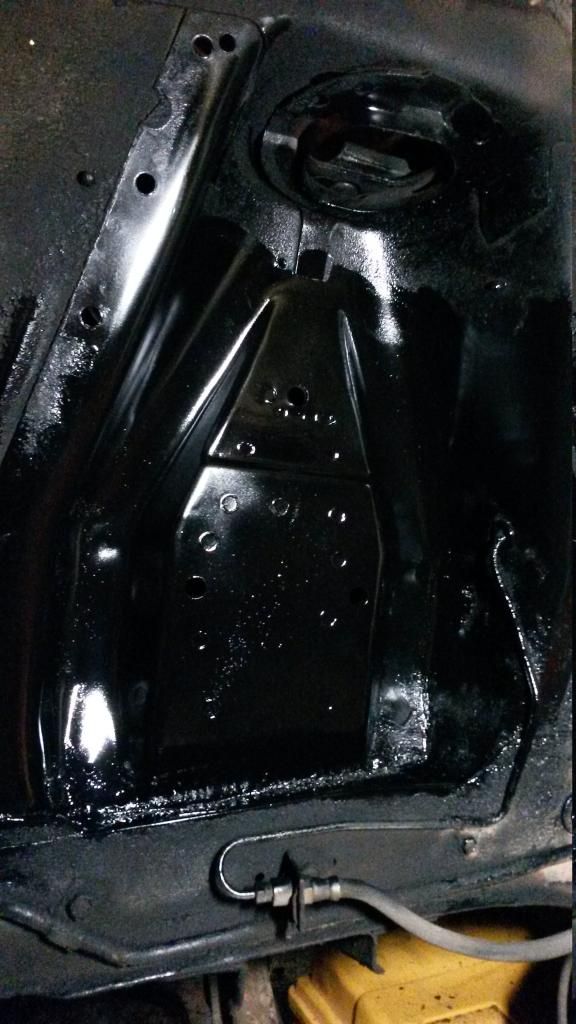 |
|
|
|
Post by TexasEd on Jul 15, 2014 1:09:38 GMT -5
I got the other side's spring off now and I'm almost ready to start putting the new parts on.
|
|
|
|
Post by TexasEd on Jul 17, 2014 10:38:25 GMT -5
Some more pictures of the wonderful state of the old suspension. Both of the anti-sway bar bolts were rusted and whittled down to nothing. Trying to loosen the nut with a wrench I just snapped the bolt in half. (Ignore the washer and bushing placement, I just threw them back on there) 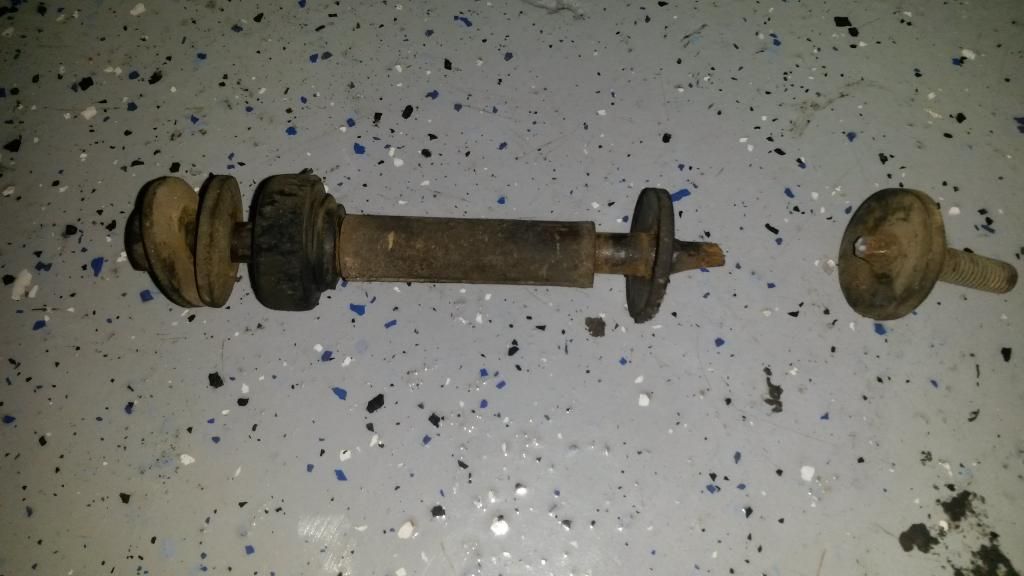 Also, the rubber bushings on the bar were soft as a sponge. Everything is off the suspension except the passenger LCA that I sprayed with penetrating oil to get loosened up. Picture of the current passenger side shim, it looks like there was a weld/repair to the bracket. I'll put these bolts back on with the new LCAs and take the LCA camber kit to the alignment shop for them to install. 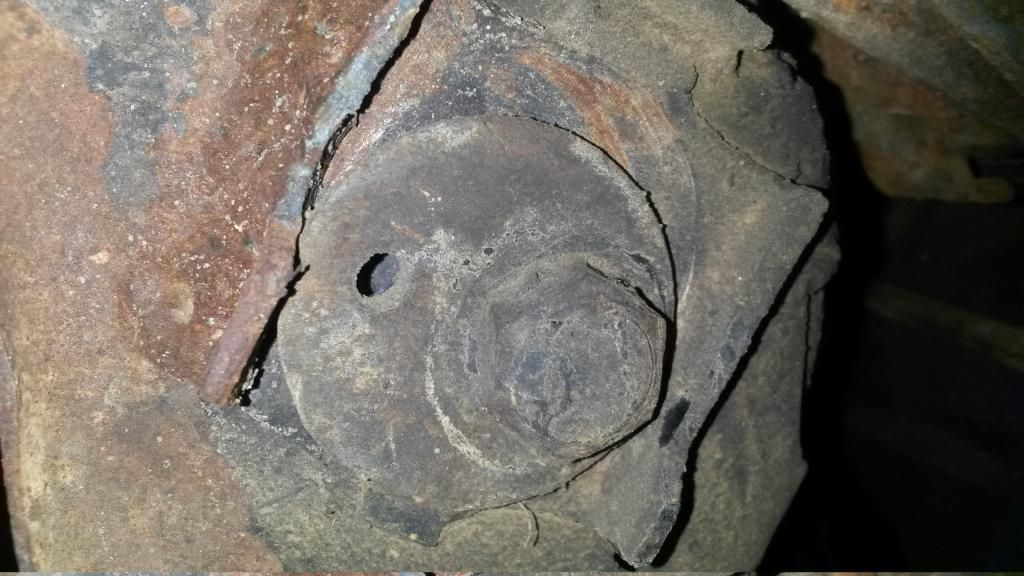 I left the inside bolts on the strut rods so that I can put them back to about the same spot as before. I assume that the new bushings might make a little difference though. Picture before I pulled off the passenger strut rod. 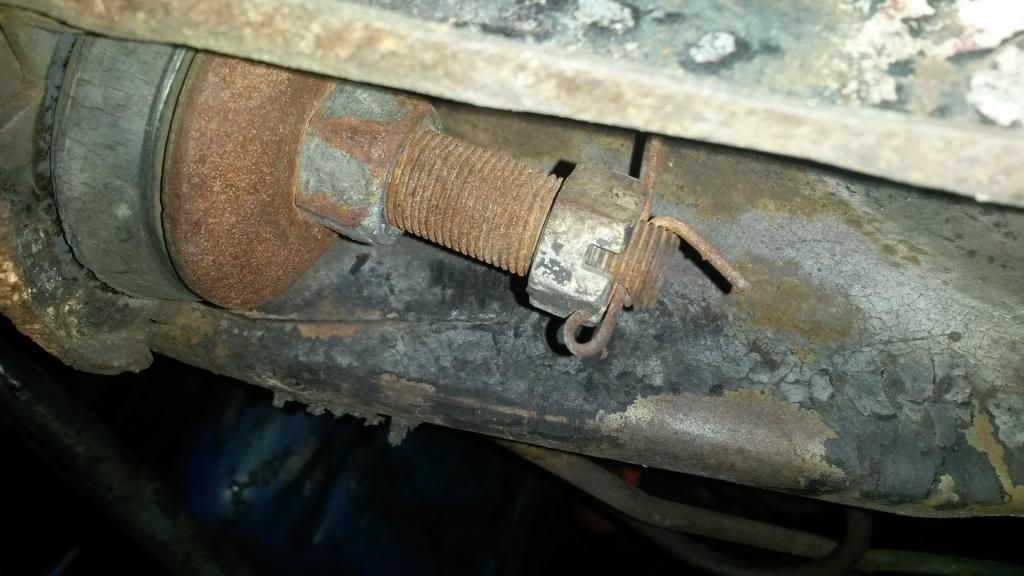 I still have a few steering components to remove like the center link, idler arm, etc and that stubborn LCA. A local modern Mustang guy gave me a 17/31" drill bit yesterday to drill the new/lower UCA holes in the shock tower and I have another one on order. torque specs for the new parts Pitman Arm to Control Valve 35-47 Outer tie rod to spindle 35-47 Center Link to Idler Arm 50-70 Pitman Arm to Center Link 35-47 Inner tie rod to center link 35-47 Pitman Arm to Sector Shaft 150-225 Idler Arm Bracket to Frame 30-40 Tie rod connecting sleeve bolts 9-15 Ball joint to spindle 60-90 Lower control arm 60-90 Upper control arm 100-140 Spring Seat for Upper Arm 25-40 lbs. Beer count only went up to 7 total with the recent progress. |
|
|
|
Post by TexasEd on Jul 23, 2014 10:26:16 GMT -5
Here's all the old suspension stuff that won't be going back on. I'll be re-using my strut rods with new bushings. 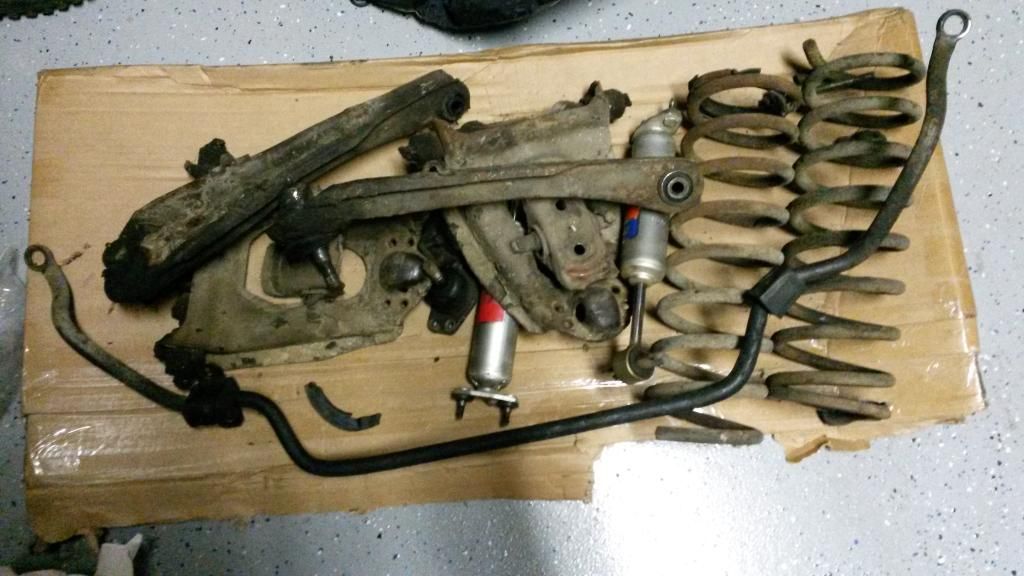 I also have almost all new steering components. I'll be using the original center link and steering box but I have new: - tie rods, end to end - idler arm - control valve - power ram - pwr steering pump - new hoses It's been a little discouraging going through this because of trial and error it probably took about 4 times as long to get all this stuff off as it should have. If I ever have to tell someone how to do it I'll know a lot more about it. I might have set myself up for it by watching a video of the disassembly on a car that had been broken down and put back together to stage the video. You'd think that the cotter pins on my car were put there by the devil. All of them were under a thick layer of grease you had to dig through to find them and half of them broke off in the bolt. Then the bolts connecting the LCA and anti-sway bar were too rusted and bent to get off. One of the bolts snapped with enough torque on the nut and the other had to be cut with a hacksaw. |
|